


A deeply flaky, golden pie crust for any season
Everybody needs a good, go-to pie crust recipe — and this is just that.
I love baking pies because you can make literally any kind you can imagine. Pecan, peach, blueberry, rhubarb… all you really need is a reliable crust and something sweet to fill it with. A bit of fruit, some sugar, maybe a squeeze of lemon — and suddenly you have something rustic and beautiful.
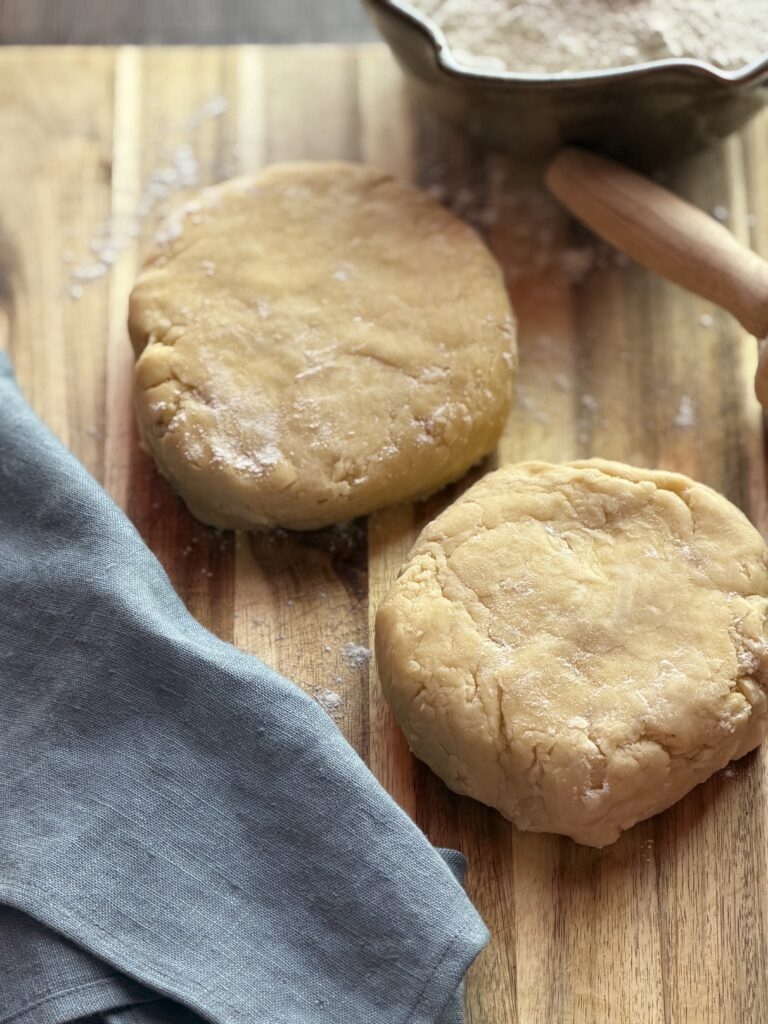
A Little Backstory
Growing up, my mom made the most immaculate pies. They were stunning — perfectly structured, neatly crimped, almost too pretty to cut into. She used a very stable crust made with shortening, and I’ll always have a soft spot for those pies.
They held their shape beautifully, and they were always flaky and delicious.
But over time, I found myself reaching for something a little different.
Why I Always Choose All Butter
In my kitchen, I try to keep things as simple and nourishing as possible. That means choosing ingredients that feel whole, familiar, and minimally processed.
For me, that means butter.
Butter brings:
- a rich, unmistakable flavor
- a deep golden color
- and a kind of natural richness that just feels right
It melts differently than shortening, which means this dough is a little more delicate — a little more rustic. It may not hold a perfectly rigid edge like a shortening crust, but what it gives you in return is flavor and texture that’s hard to beat.
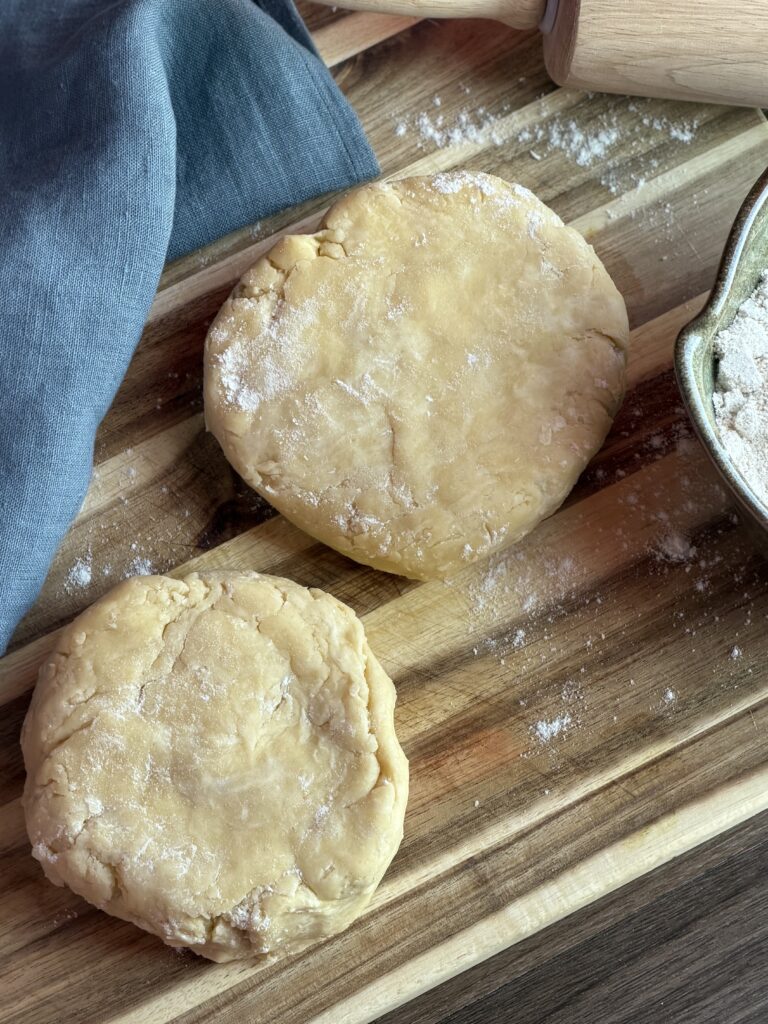
A More Generous Dough (On Purpose)
This recipe makes a slightly more generous amount of dough than most — and there are reasons for that.
All-butter dough can be a bit softer and more prone to tearing if it warms up too much, so having a little extra gives you room to work without stress. It also means:
- thicker, more beautiful crimped edges
- enough for a full double crust or lattice
- or a second pie later on
And if you have scraps left?
My mom used to roll them out, sprinkle them with cinnamon and sugar, and bake them into little flaky treats. Still one of my favorite parts of pie-making.
Salted vs. Unsalted Butter
You can absolutely use unsalted butter here.
But I’ll be honest — I almost always reach for salted. That subtle saltiness against a sweet filling is one of those small things that makes everything taste just a little better.
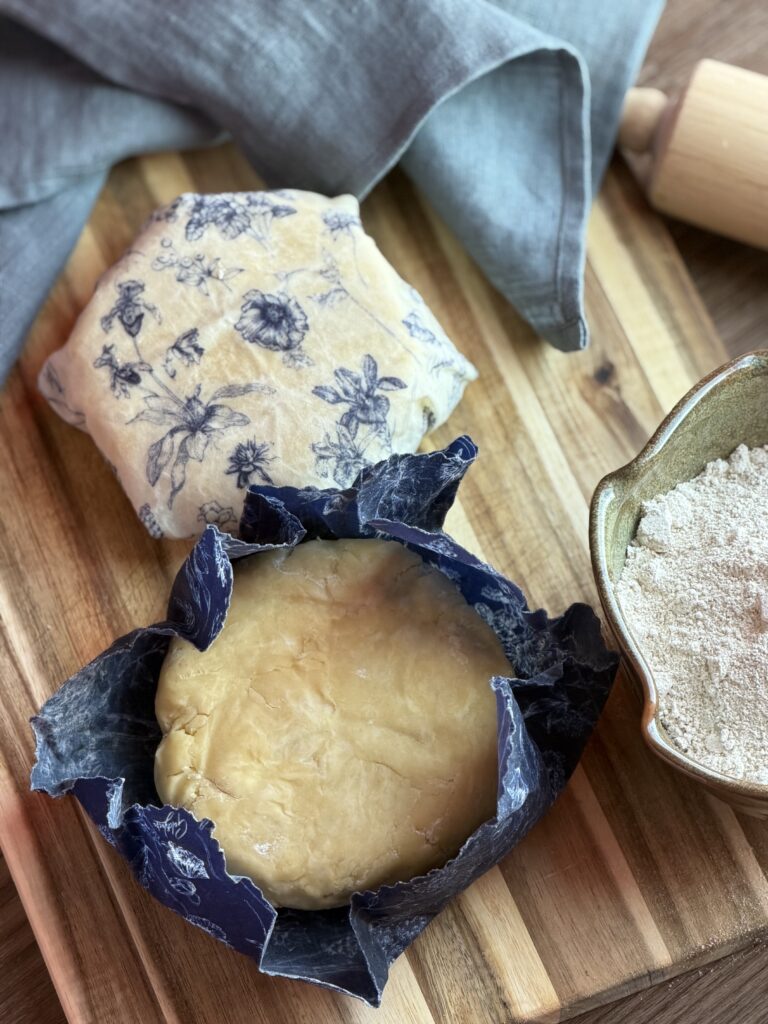
When to Make This
This is the dough I use every single time I bake a pie.
In the summer, when peaches are soft and dripping with juice.
In early spring, when rhubarb starts showing up.
On cold, rainy days when all I want is something warm and spiced.
It’s simple, reliable, and just a little rustic — exactly how homemade pie should feel.
Storage
This pie dough stores beautifully, making it easy to prepare ahead whenever the baking mood strikes.
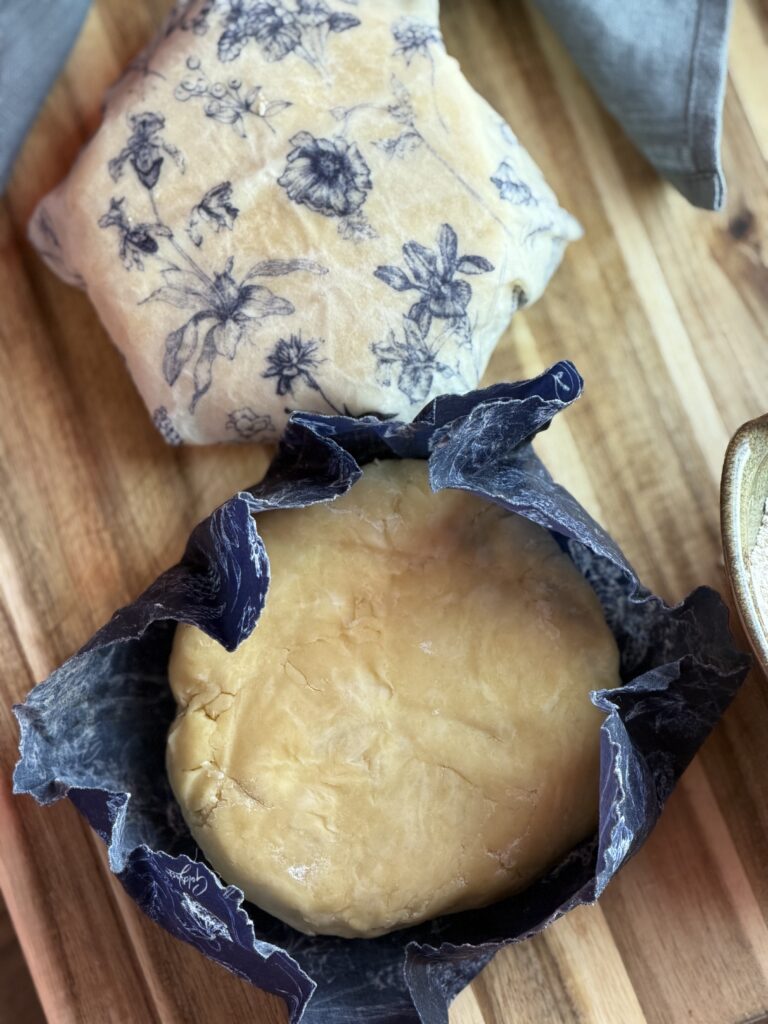
Wrap each disk tightly and refrigerate for up to 3 days before using. If the dough has been chilled overnight, let it rest on the counter for 10–15 minutes before rolling so it softens just enough to become pliable.
For longer storage, freeze the dough for up to 3 months. Thaw overnight in the refrigerator before using.
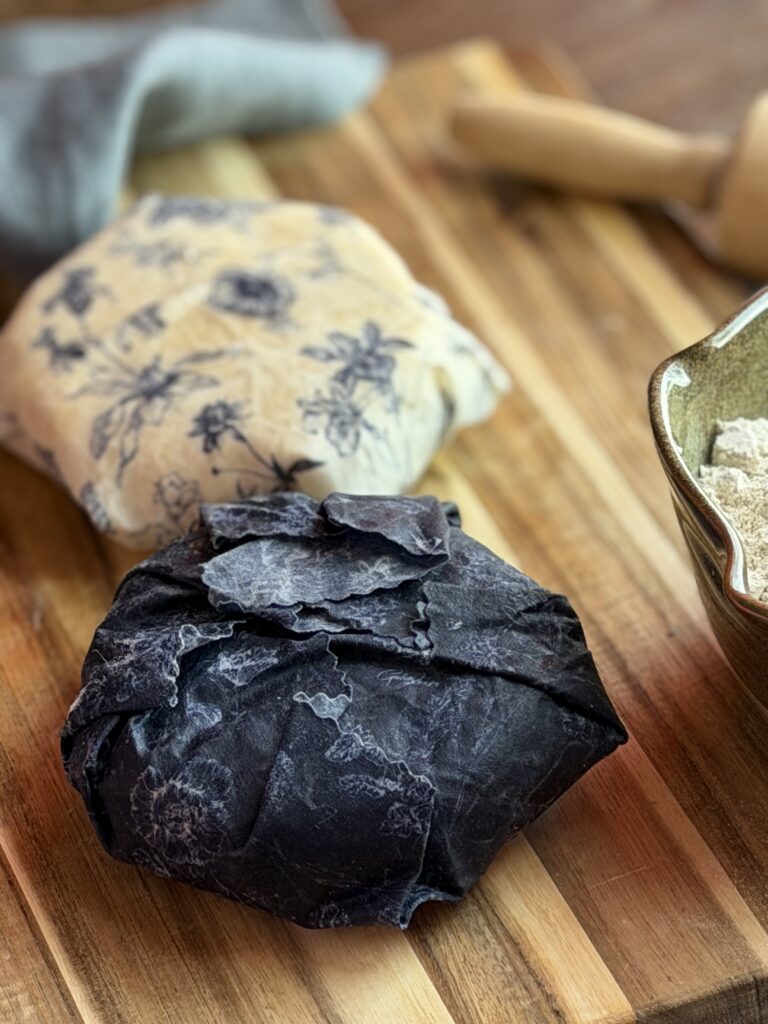
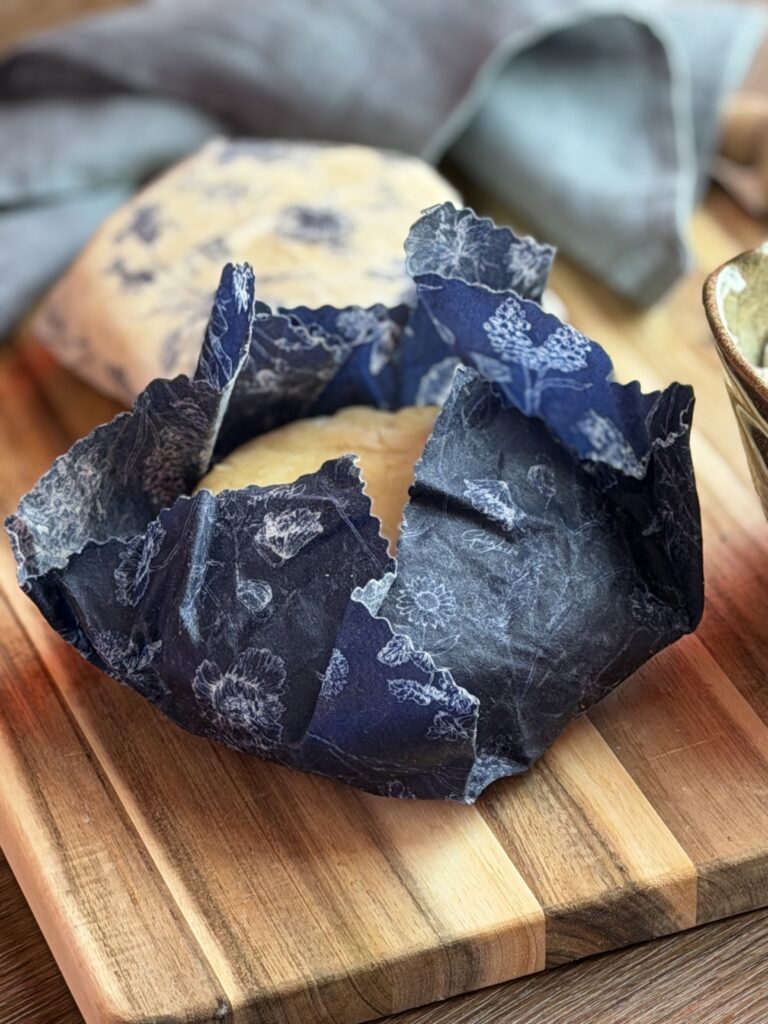
I personally like to wrap my dough in beeswax wraps rather than plastic wrap whenever possible. They’re reusable, breathable, and a simple way to reduce kitchen waste while avoiding another layer of plastic coming into contact with my food. It’s one of those small swaps that feels both practical and worthwhile to me.
That being said, don’t stress about it. Plastic wrap works perfectly well and will keep your pie dough just as fresh. Use what you have and what fits your kitchen—making a delicious homemade pie is far more important than having the “perfect” storage method.
While we can’t eliminate our exposure to plastics entirely, I enjoy choosing natural materials where they make sense. Butter, flour, wood, linen, beeswax—there’s something satisfying about keeping the entire process as simple and traditional as the ingredients themselves.
Rustic All-Butter Pie Dough
Everybody needs a good, go-to pie crust recipe —
I love baking pies because you can make literally any kind you can imagine. Pecan, peach, blueberry, rhubarb… all you really need is a reliable crust and something sweet to fill it with. A bit of fruit, some sugar, maybe a squeeze of lemon — and suddenly you have something rustic and beautiful.
For The Dough
Instructions
-
Combine the dry ingredients
In a large bowl, whisk together the flour, sugar, and salt.
You just want everything evenly distributed — nothing complicated here.
-
Cut in the butter
Add the cold, cubed butter to the flour.
Using a fork (or your fingertips), begin working the butter into the flour. Press and break it up, but don’t overdo it — you’re not trying to make it uniform.
You’re looking for a mix of:
- small pea-sized pieces
- and some larger, flat shards of butter
Those uneven pieces are what create those deeply flaky layers once baked.
-
Add the ice water
Drizzle in the ice water, starting with about 6 tablespoons.
Gently mix with your hands or a fork until the dough just begins to come together. If it still feels dry, add more water one tablespoon at a time.
The dough should:
- hold together when pressed
- but still look a little rough and shaggy
Don’t knead it — just bring it together.
-
Bring it together and divide
Turn the dough out onto a clean surface and gently press it into a loose mass.
Divide it into two portions and shape each into a disk.
You should still see visible pieces of butter throughout — that’s exactly what you want.
-
Chill the dough
Wrap each disk tightly and place in the fridge for at least 1 hour (or up to overnight).
This step is essential — it allows:
- the butter to firm back up
- the flour to hydrate
- the dough to relax so it rolls out easily
Cold dough = flaky dough.
-
Roll it out
When ready to use, take one disk out of the fridge and let it sit for 5–10 minutes if it feels too firm.
On a lightly floured surface, roll the dough out into a circle about 2–3 inches larger than your pie dish.
Work fairly quickly so the butter stays cold.
If the dough cracks a bit at the edges, just press it back together — this dough is meant to feel a little rustic.
-
Transfer to your pie dish
Gently lift and place the dough into your pie dish.
Press it in without stretching it — stretching causes shrinking later.
Trim any excess, leaving a bit of overhang if you plan to crimp.
-
Fill and finish
Add your filling, then:
- top with the second crust, lattice, or leave open
- crimp or fold the edges as desired
If using a top crust, cut a few slits for steam.
-
Chill again (quick but important)
Before baking, place the assembled pie in the fridge for 15–20 minutes.
This helps the crust hold its shape and prevents too much melting too quickly in the oven.
-
Bake
Bake according to your pie recipe, typically:
- 375–400°F
- until deeply golden brown
You’re looking for:
- rich golden color
- crisp edges
- visible flaky layers
Don’t pull it too early — color = flavor.
Note
- If the dough softens while you’re working, just pop it back in the fridge
- If it tears, patch it — no one will know
- This dough is meant to be a little imperfect — that’s what makes it beautiful

